Over Washer Shelving: 7 Easy Tips to Choose and Install
The wall above your washer is probably the most wasted space in your home, and over washer shelving is the simplest way to put it to work. A good setup gives detergent, stain sprays, and spare towels a proper home without using a single inch of floor. A bad one can crack drywall, jam a lid, or drop a full jug of detergent on your foot. The difference usually comes down to planning, not price. Many people buy a shelf that looks right online, then find it sits two inches too low or holds half of what they expected. A few minutes with a tape measure can save you a lot of frustration.
This guide walks you through seven practical tips, in the order you should tackle them. You will learn how to measure your machine, read weight limits, choose between wall and floor systems, and fix everything in place safely. We also cover what to store up there, because the wrong products in the wrong spot create their own risks. The advice works for small apartments, basement laundry corners, and hallway closets alike. Whether you own your home or rent it, there is a safe way to build upward. Grab a tape measure, a pencil, and your washer’s manual, and let’s begin. If you want to dig deeper, our guide on Small Bathroom Storage Ideas: 7 Practical Tips (No Cabinets) covers this in more detail.
Tip 1: Measure Top Load Washer Clearance First
Start with your washer, not the shelf. A top-loading machine opens upward, and its lid swings back toward the wall, so a low shelf can stop it halfway. Open the lid as far as it goes and measure from the floor to the highest point it reaches. Then add a few extra inches so you can reach inside comfortably and the lid never bumps anything. Front-loaders open sideways, which gives you more freedom, but you still need room for the detergent drawer and a clear view of the controls. The Wikipedia overview of washing machines explains the basic designs if you are unsure which type you own. Your manual may also list the space needed behind the machine for hoses, so check it before you plan any over washer shelving.
Write down these measurements before you shop:
- Floor to the top of the open lid (or to the top of the washer, if it is a front-loader)
- Width of the washer and the width of the wall space around it
- Depth of the washer, plus the gap behind it for hoses and plugs
- The position of outlets, water valves, and dryer vents on the wall
- Ceiling height, and any pipes or light fixtures overhead
Tip 2: Check the Shelf Weight Capacity Before You Buy
The limit printed on the box is your starting point. That rating usually assumes the weight is spread evenly across the board and that you installed the shelf exactly as the instructions say. A single heavy item at the far end asks much more of a bracket. So add up what you plan to store: large detergent jugs, baskets, an iron, a pile of towels. Choose a shelf that handles that total with room to spare, and never aim for the maximum. Remember, too, that washers shake during the spin cycle. Over washer shelving sits right next to that movement, so overloaded boards and loose screws tend to fail sooner than you would expect. If a product gives no clear weight rating at all, treat that as a warning and look elsewhere.
Tip 3: Consider a Wall Mounted Laundry Shelf for a Permanent Fix
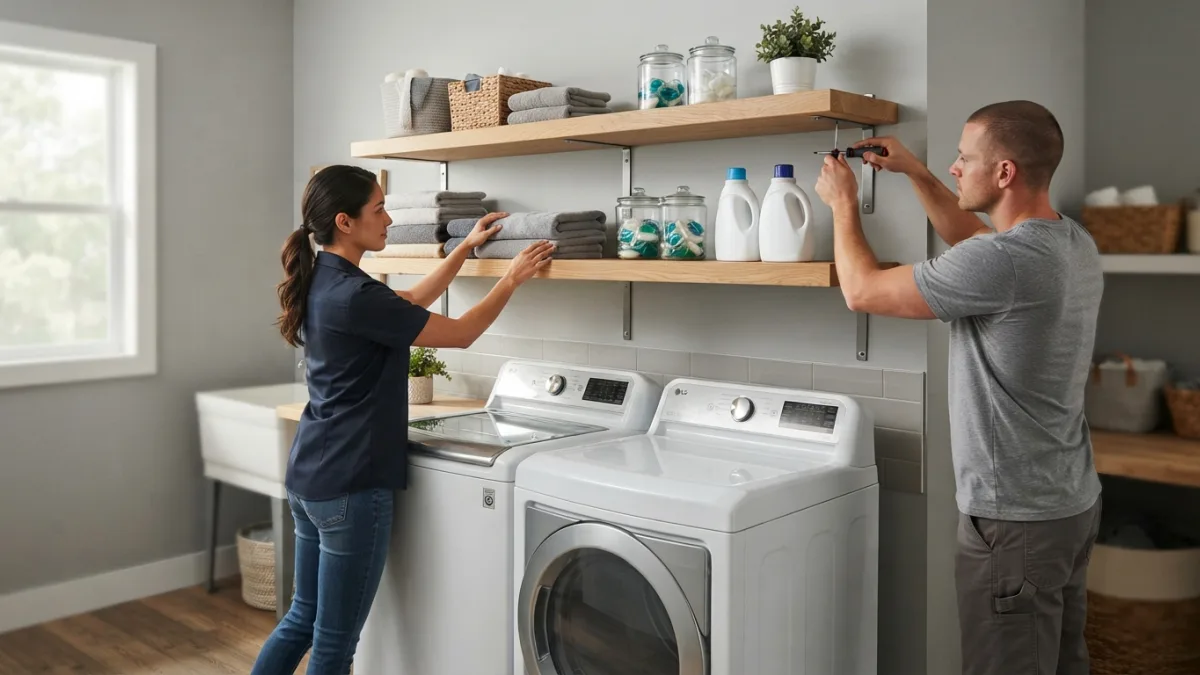
A wall-mounted option suits homeowners, and renters who have their landlord’s permission. It keeps the floor clear, lets you set each board at the height you want, and fits a washer of any width. Look for solid wood, thick laminate, or metal. Thin boards bend over time, especially in a damp room. A raised lip on the front edge stops bottles from sliding off when the machine vibrates. Pay as much attention to the brackets as to the board, because they carry the load, and they should feel heavy and rigid in your hand. The main downside is that you have to drill into the wall, which is why the next tip matters so much. When it is done properly, this style of over washer shelving looks tidy and lasts for years. This connects closely with another common issue — see Vertical Storage Hacks: 7 Easy Ideas for Tiny Bedrooms for more on that.
Tip 4: Secure It With Heavy Duty Wall Anchors and Studs
Studs hold more than any anchor, so aim for them first. A stud finder shows where the wooden or metal framing sits behind the drywall, and screws driven into that framing carry far more weight. When your brackets do not line up with studs, heavy duty wall anchors rated for your wall type fill the gap. Read the packaging closely, because toggle bolts, masonry anchors, and plastic plugs suit very different walls. Never trust a small plastic plug with a loaded shelf. Follow these steps for a safer install:
- Find the studs with a stud finder and mark them with a pencil.
- Check for hidden pipes and electrical wires before you drill. A washer wall often hides both.
- Hold the shelf or bracket against the wall and mark the holes with a level.
- Drill pilot holes, wearing safety glasses.
- Fix the brackets with screws or anchors that match both your wall and the stated load.
- Pull firmly on the empty shelf to test it, then load it slowly.
If the wall is concrete, brick, or plaster, ask a hardware store for the right fasteners. If you feel unsure about hidden wiring, hire a professional. That small cost is cheaper than a repair.
Tip 5: Try Renter Friendly Laundry Shelves
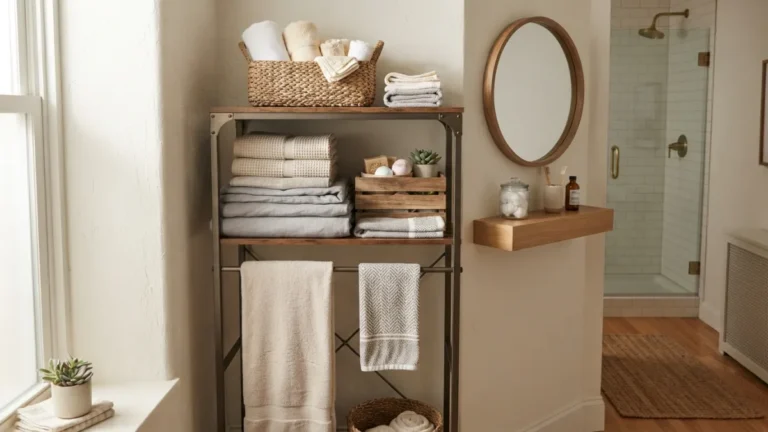
A freestanding laundry shelf unit is the classic answer when drilling is not allowed. These frames stand on the floor, straddle the washer, and carry the shelves above it. Check that the legs clear the machine on both sides, and that adjustable feet let you level the frame on an uneven floor. Leave a small gap between the frame and the washer so that vibration does not make them rattle together. Tall units can tip, so if your lease allows one small screw, attach the frame to a stud with a safety strap. The U.S. Consumer Product Safety Commission shares safety information about tip-over hazards, and the same common sense applies here. This kind of over washer shelving also moves with you when you leave.
Tip 6: Set the Laundry Room Shelf Height for Real Life
Your lowest shelf must clear the open lid with room to spare, so use the measurement from Tip 1. After that, think about how you actually move. Place the things you grab every week between waist and shoulder height. Put heavier items lower, where you can lift them without stretching, and keep light things like dryer sheets or spare hangers on the top shelf. Stand at the washer and lean forward as if you were loading it. If the bottom edge of the lowest shelf is close to your forehead, move it up. Households with children or shorter adults should test the setup from their own height. Also leave enough space between shelves for your tallest bottle, so you do not have to tilt it to fit. You might also find our article on Apartment Bike Storage: 7 Easy Ideas Without Drilling helpful here.
Tip 7: Use Smart Laundry Detergent Storage Ideas
What you put on the shelves matters as much as the shelves themselves. Try these laundry detergent storage ideas to keep things tidy and safe:
- Use a shallow tray or bin under liquid detergent to catch drips.
- Pour powders into sealed, labeled containers so they stay dry.
- Keep single-dose pods in their original closed container, and store them high or in a locked cabinet, away from children. America’s Poison Centers offers guidance on household product safety.
- Store bleach and other cleaning products apart from each other, never mixed or stacked loosely.
- Group items in baskets with handles, so you can lift a whole category down at once.
Heavy bottles belong on the lower, sturdier shelf. Lighter baskets can go higher up. This keeps the load balanced and protects the wall fixings.
A Last Safety Check for Over Washer Shelving
Before you celebrate, do one final walk-through. Open and close the washer lid several times to confirm it never touches the shelf. Press down on each board and shake the frame gently to look for wobble. Run a full wash cycle, including the spin, and watch the shelves for rattling or creeping bottles. Make sure nothing blocks the dryer vent, the water valves, or the power outlet, since you may need quick access to all three. Then recheck the fasteners after a few weeks, because vibration can loosen screws over time. Good over washer shelving is not a one-day job. It is a small habit of checking, adjusting, and keeping the load sensible. Do that, and your once-wasted wall will quietly earn its place.
Over Washer Shelving FAQ
How high should shelves be above a washer?
The lowest shelf must sit above the highest point of the open lid, with a few extra inches for your hands. Measure your own machine with the lid fully open instead of relying on a general rule. For a related walkthrough, check out Pots and Pans Storage: 9 Easy Ideas for Small Cabinets.
Can I install over washer shelving without drilling?
Yes. A freestanding frame that straddles the washer needs no drilling. Choose a sturdy one with adjustable feet, keep a small gap from the machine, and anchor it to the wall if your lease allows.
Do I always need studs for a wall shelf?
Studs give the strongest hold, so use them whenever you can. If the brackets cannot reach studs, use anchors that are rated for your wall type and for more weight than you plan to store.
Is it safe to store detergent above the washer?
It can be, if the shelf is secure and the products are stored sensibly. Keep heavy bottles low, use trays for spills, and store pods and chemicals out of children’s reach.
Will vibration from the washer damage the shelves?
It can loosen screws or make items creep over time. Use a lipped shelf, avoid overloading it, and check the fasteners every few weeks.

Ghani Mejber — Founder & Lead Editor
Ghani Mejber is the founder of DIY Homes Hub. After years of living in compact rentals with strict lease rules and limited storage, I started sharing practical, damage-free home upgrades and basic repair guides built for real budgets. Every project I publish focuses on simple tools, accessible materials, and reversible solutions that protect your security deposit.