Update Old Tile: 7 Easy Ways to Skip the Replacement
Tearing out tile is loud, dusty, and expensive. Fortunately, you can update old tile in a weekend or two, often with a few basic tools and some patience. Maybe your bathroom is stuck in a pastel color from decades ago. Maybe your kitchen backsplash has grout lines that no scrubbing can save. In many cases the tile itself is solid. It just looks tired. This guide walks through seven practical ways to change how your tile looks and feels, from simple fixes to bolder makeovers. It also covers what to check before you start and how to think about cost.
Check Your Tile Before You Start
Before you pick a method, spend ten minutes inspecting what you have. Tap each tile gently. A hollow sound or a rocking tile means the bond underneath has failed, and cosmetic fixes will not hold. Look for cracks, soft spots, or a musty smell that points to hidden moisture. Those problems need real repairs first. Then clean the surface well, because soap scum, grease, and old sealers stop paint, adhesive, and coatings from sticking. If your home is old, be careful with sanding or scraping. Older paint may contain lead, and some old floor tiles and their adhesives may contain asbestos. The U.S. Environmental Protection Agency has helpful pages on lead and asbestos that explain when to stop and call a professional. If you want to dig deeper, our guide on Update a Rental Bathroom: 7 Easy Tips for a Budget Makeover covers this in more detail.
- Loose or hollow tiles: re-secure or replace those first.
- Mold or moisture signs: find the source before covering anything.
- Glossy glaze: plan to scuff or prime it so new finishes can grip.
- Heavy-use areas: choose tougher products for showers and floors.
7 Ways to Update Old Tile Without Demolition
Each option below suits a different budget, skill level, and room. Some change only the grout. Others change the whole look. Read through them all before you buy anything, because you can often combine two. A fresh grout color plus a painted surface, for example, can look like a full renovation.
1. Regrout Old Tile for a Cleaner Grid
If the tiles are sound but the lines between them look dark or crumbly, regrout old tile before you try anything fancier. Fresh grout can make a surprising difference on its own. Start by scraping out the old material with a grout saw, working to an even depth and keeping the blade off the tile edges. Vacuum the dust, then mix new grout as the package directs. Press it into the gaps with a rubber float and wipe the surface with a damp sponge. Once it cures, apply a sealer if the product calls for one. A slightly lighter or darker shade than before can change the whole mood of a room. Work in small sections so the grout does not harden before you clean it.
2. Paint Bathroom Tile With the Right Primer
Yes, you can paint bathroom tile, but the prep decides whether it lasts. Clean the surface with a degreaser, rinse it, and let it dry completely. Sand lightly to dull the shine, then wipe away the dust. Next, apply a bonding primer made for slick surfaces. Choose a paint rated for tile or a durable epoxy-style product, and apply two thin coats instead of one thick one. Thin coats drip less and cure harder. Open a window, run the fan, and wear a mask if the label advises it. Then wait. Most products need several days before they can handle steady water, so check the instructions before your next shower. Painted tile works best on walls, not in spots that get scrubbed daily. This connects closely with another common issue — see Peel and Stick Backsplash: 5 Easy Before-and-After Tips for more on that.
3. Use a Tile Refinishing Kit for Tubs and Showers
A tile refinishing kit is built for the wet, high-wear places where regular paint often fails. Most kits bundle a cleaner, a prep step, and a hard-wearing coating, often a two-part epoxy that you mix right before use. The process takes more effort than painting a wall. You will need to mask carefully, scrub thoroughly, and apply each layer within the time window on the label. Fumes can be strong, so ventilation and a proper respirator matter. Cure times are also longer than people expect, often measured in days. If you follow the steps closely, though, you can turn a faded pink or avocado-green bathroom into a clean white one. If the job feels too big, a professional can do the same work for you.
4. Cover Surfaces With Peel and Stick Tile
Peel and stick tile is the fastest route to a brand-new pattern, and it needs no grout, no mortar, and very few tools. Clean the old surface, make sure it is flat and dry, and measure the area. Then cut the pieces with a utility knife and press them down one at a time. Keep in mind that deep grout lines can show through thin sheets, so you may need to fill them first with a smoothing compound. Many products suit walls and dry floors, but wet areas are another story, so read the label before you buy. A straight starting line makes a big difference. Snap a chalk line or use a level so your pattern does not drift.
5. Brighten Floors With Tile Floor Paint
Tile floor paint can rescue a dated floor for the price of a few cans and a roller. Pick a product made for floors, not wall paint, since floors face scuffs, furniture, and shoes. Clean the tile well, scuff the glaze as directed, and apply the recommended primer. Then roll on thin coats and allow plenty of drying time between them. Many people add a clear protective topcoat when the manufacturer suggests it. Be realistic, though. Painted floors may chip over time in busy hallways or entryways, so they suit low-traffic rooms best. Stencils or simple geometric patterns can hide minor wear and add personality. Keep a small can for touch-ups after the finish has cured. You might also find our article on Small Laundry Room Makeover: 7 Easy Budget-Friendly Ideas helpful here.
6. Plan a Tile Backsplash Makeover
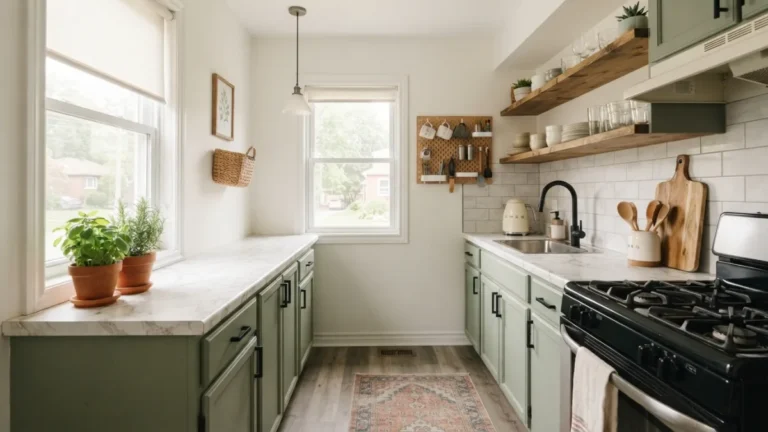
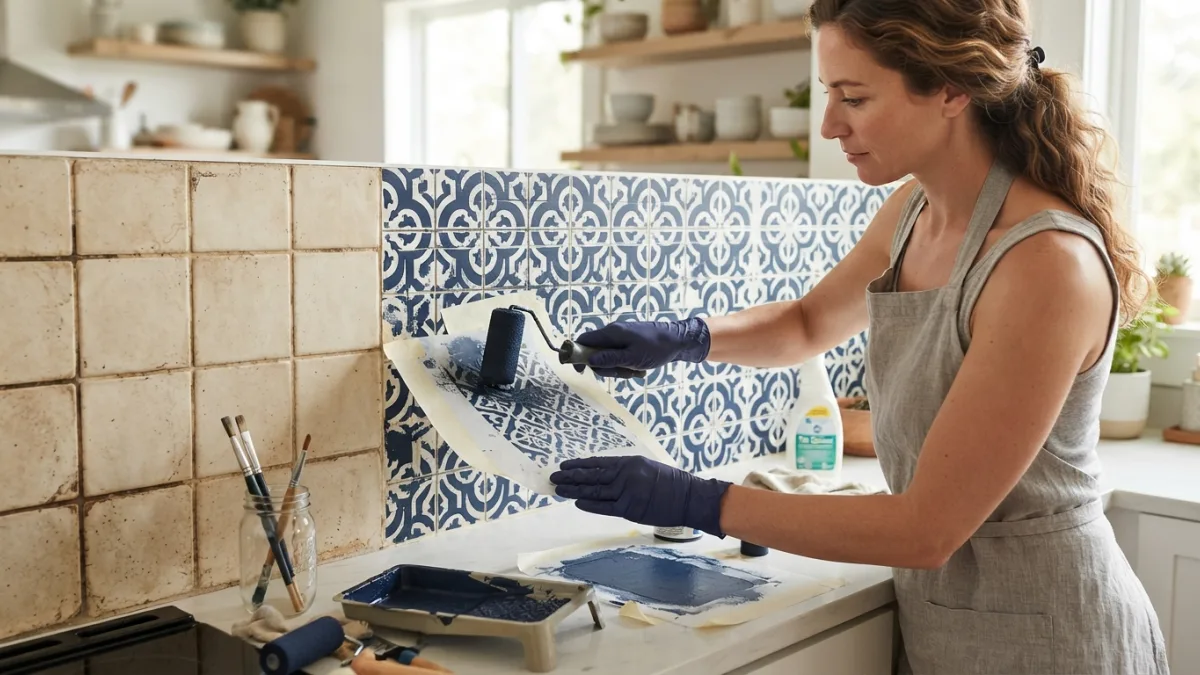
A tile backsplash makeover is one of the smartest places to start because the area is small, the payoff is big, and mistakes are easy to fix. You have several options. You can regrout in a bolder color, paint the tile, or cover it with self-adhesive sheets in a subway or mosaic pattern. Clean grease first, since kitchens leave a film that blocks adhesion. Around the stove, check what temperature your chosen product can handle, and keep decorative sheets clear of direct flame or high heat. Finish by caulking along the countertop edge with a color-matched caulk. That one small step gives the whole wall a crisp, professional edge and helps keep splashes from reaching the wall behind.
7. Add Personality With Tile Decals and Stickers
Tile decals and stickers are the gentlest way to update old tile, especially if you rent or like to change your mind. They come in patterns that mimic classic cement tile, florals, and bold geometrics. You can cover every tile or add a design to just a few for an accent. Clean and dry the surface, apply each decal from one edge, and smooth out air bubbles as you go. A hair dryer on low heat can help the sheet bend around corners. Try a hidden spot first to see how easily it peels away later. Decals work best on smooth, glossy tile. Textured tile makes it harder for them to stay flat, and steamy showers can loosen cheaper brands.
What Is the Real Tile Resurfacing Cost?
Tile resurfacing cost depends on several things, so any single price you read online is only a rough guide. Room size matters most, followed by the condition of the tile and whether you hire a pro or do the work yourself. Region and product quality also shift the total. DIY projects usually cost far less in labor, but they take your time and need careful prep. Before you hire anyone, get at least two or three written quotes and ask exactly what is included, such as repairs, cleaning, coatings, and warranty. Compare that number with what full replacement would involve, including demolition, disposal, new materials, and installation. Often, resurfacing or a cosmetic fix comes out well ahead, but it is worth checking for your own situation. For a related walkthrough, check out Thrifted Furniture Makeover: 15 Easy Ideas for Beginners.
The Bottom Line
You do not need a sledgehammer to get a fresh look. Start by checking that your tile is solid, then match the method to the room: new grout for a quick clean-up, paint or a refinishing kit for color, adhesive tiles or decals for pattern, and floor-rated paint for the ground underfoot. Take your time with prep, because that is where most projects succeed or fail. If tiles are cracked, loose, or hiding moisture damage, replacing them may still be the better call. But if the tile is sturdy and only the style is the problem, you can update old tile, save money, and enjoy the results much sooner than you think.
Frequently Asked Questions
Can you paint over old tile?
Yes. Clean the surface, scuff the glaze, apply a bonding primer, and use a paint made for tile. Thin coats and full curing time give the best results.
How long does a painted or refinished tile finish last?
It depends on the product, the prep, and how much wear the area gets. Walls usually hold up better than floors or tubs. Follow the manufacturer’s directions closely for the longest life.
What is the cheapest way to update old tile?
Regrouting or adding tile decals and stickers usually costs the least. Paint is also budget-friendly. Prices still vary by product and room size, so compare options before you buy.
Can I use peel and stick tile in a shower?
Only if the product is clearly rated for wet areas. Many are meant for dry walls and floors, so always read the label and installation notes first.
When should I replace tile instead?
Replace it if tiles are cracked, loose, or sitting over water damage or mold. Cosmetic fixes cannot solve structural or moisture problems, and they may fail quickly if you try.

Ghani Mejber — Founder & Lead Editor
Ghani Mejber is the founder of DIY Homes Hub. After years of living in compact rentals with strict lease rules and limited storage, I started sharing practical, damage-free home upgrades and basic repair guides built for real budgets. Every project I publish focuses on simple tools, accessible materials, and reversible solutions that protect your security deposit.