Cheap Kitchen Cabinets: 7 Easy Ways to Look Expensive
You don’t need a luxury budget to get a luxury-looking kitchen. Plenty of homeowners start with cheap kitchen cabinets, whether they came with a rental, a builder-grade house, or a quick flat-pack install, and still end up with a space that looks custom. The secret is in the details. Color, texture, light, and proportion matter more than the price on the original box. A few smart changes pull the eye away from basic construction and toward the parts people actually notice. This guide covers seven practical upgrades, from easy weekend jobs to bigger projects. You can do one, or stack several for a dramatic change. Most of them cost far less than tearing everything out and starting again.
Before you buy anything, take a close look at what you have. Open every door and drawer. Are the boxes solid, or are they sagging and swollen? Paint, new handles, and trim can hide a dull finish and a dated style, but they can’t fix water damage or broken frames. Check the hinges, too, because loose or squeaky ones make a fresh kitchen feel cheap. Then set a small budget and list your upgrades in order of impact. Spend first on what people see first: doors, handles, and lighting. Take photos of your kitchen in daylight and at night. They help you spot what looks tired, and you’ll enjoy the before-and-after comparison later. If you want to dig deeper, our guide on Budget Living Room Makeover: 7 Easy Ideas for a Rich Look covers this in more detail.
1. Try Budget Cabinet Painting for the Biggest Change
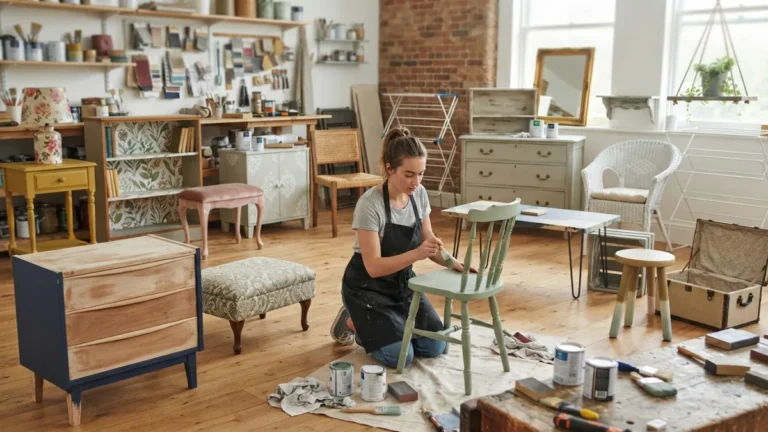
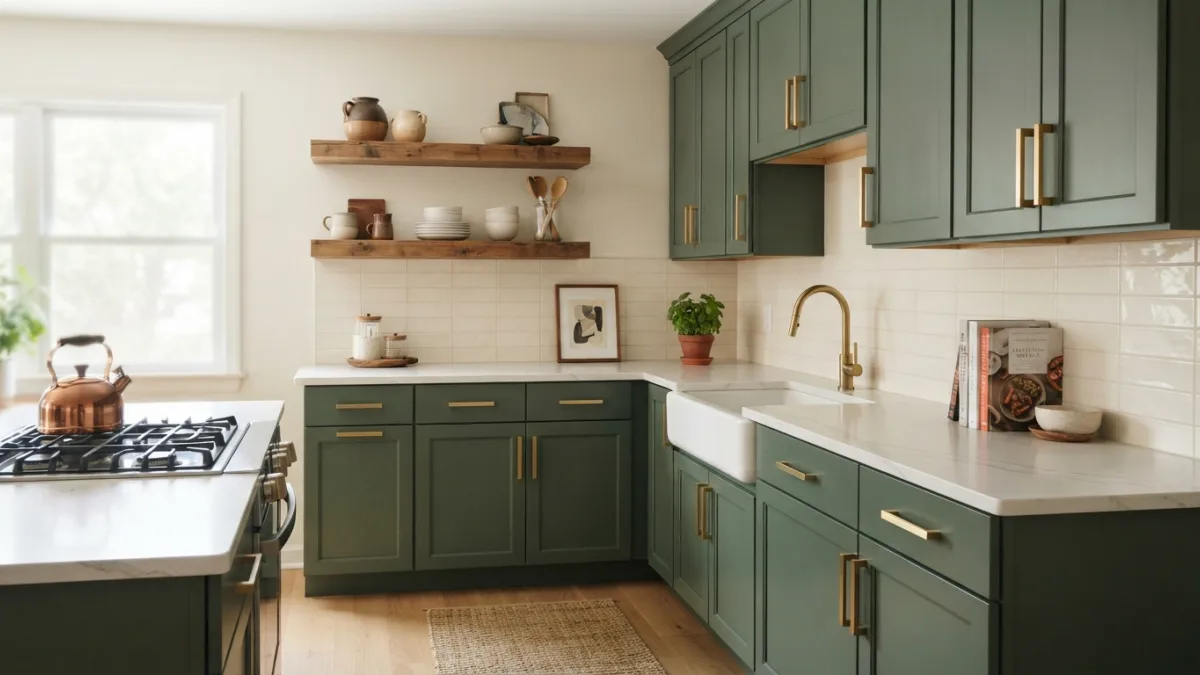
Nothing transforms a kitchen for less money than budget cabinet painting. A good paint job can turn worn, orange-toned wood or chipped laminate-look doors into something that feels deliberate and designed. Choose a color with depth. Deep green, navy, warm greige, and soft off-white all read as high-end, while a flat bright white can show every flaw. Use a paint made for cabinets, because it cures harder than regular wall paint and stands up to grease, steam, and constant touching. Take the doors off and label them so they go back in the right place. Paint them lying flat if you can. Thin, even coats look far better than one thick coat, and they dry without drips.
Preparation decides whether your paint lasts, so sand and prime cabinets before you pick up a colored brush. Clean off kitchen grease first with a strong degreaser, since paint won’t stick to it. Then sand lightly to dull the shine, wipe away the dust, and apply a bonding primer that suits your cabinet material. If your home was built before 1978, check the U.S. Environmental Protection Agency’s lead guidance before sanding old paint, because dust from lead-based paint is dangerous. Skipping this step is the most common reason a DIY finish peels. Give each coat plenty of time to dry. Rushing it is how fingerprints end up in the paint.
2. Explore Cabinet Hardware Upgrade Ideas
Handles act like jewelry for your kitchen, and they are one of the cheapest ways to change its personality. Start by browsing cabinet hardware upgrade ideas that match your style. Matte black gives a modern look, brushed brass feels warm and classic, and simple bar pulls in a satin metal suit almost any room. Pick one finish and stick with it. Mixing too many metals can make cheap kitchen cabinets look random instead of designed. Size matters as well. Oversized pulls on drawers often look more expensive than tiny knobs. Before you order, measure the distance between the existing screw holes so the new pieces fit without drilling. If the holes don’t match, fill them with wood filler and paint over them. Buy one handle first and test it before you order forty. This connects closely with another common issue — see Small Laundry Room Makeover: 7 Easy Budget-Friendly Ideas for more on that.
3. Add Cabinet Crown Molding for a Built-In Look
Basic cabinets often stop short of the ceiling, leaving a dusty gap that screams “off the shelf.” Cabinet crown molding fixes that in one move. This trim sits along the top edge and gives the cabinets a finished, furniture-like look. It follows the same idea as the classic cornice in traditional architecture: a decorative edge that connects the wall to the ceiling. Choose a simple profile, since ornate shapes can look fussy in a small kitchen. Paint the trim the same color as your cabinets so everything blends into one solid piece. Use a small amount of caulk to close gaps along the wall and ceiling. Corners are the hardest part, so practice your cuts on scrap wood first. Careful measuring pays off here.
4. Consider Cabinet Door Refacing When Doors Look Worn
Sometimes paint isn’t enough. If your doors are flat, scratched, or warped, cabinet door refacing can give you a new kitchen without changing the cabinet boxes. In full refacing, a pro covers the frames with new veneer and installs new doors and drawer fronts. On a tighter budget, you can do a lighter version yourself. Measure each opening, order new doors in a Shaker style, which looks clean and timeless, and swap them in. Ready-made sizes usually cost less than custom ones, so check whether your openings fit common dimensions. Paint the frames to match, and the whole kitchen looks new. This works well when the boxes are in good shape but the fronts look tired.
5. Install Under Cabinet Lighting to Add Glow
Light is what makes expensive kitchens feel expensive. Under cabinet lighting shines on your countertops, removes dark shadows, and makes the room feel layered and calm at night. LED strips and slim light bars are cheap and easy to fit, and many models plug into a wall outlet, which is handy for renters. Pick a warm white tone for a cozy feel, and avoid harsh bluish light that makes food and wood look dull. Hide the strip behind a small front trim, called a light rail, so you see the glow but not the fixture. To keep energy use low, look for efficient LEDs, and ENERGY STAR is a good place to learn about certified lighting. A dimmer or smart plug is a small extra that adds a lot of comfort. You might also find our article on Small Entryway Makeover: 12 Easy Budget Ideas That Work helpful here.
6. Mix Two Tone Cabinets for a Designer Touch
Designers love two tone cabinets because they add depth without adding cost. The simplest version puts a darker color on the lower cabinets and a lighter one on the upper cabinets, which makes the ceiling feel higher. Another option is to paint only the island in a bold shade and keep the rest neutral. Stick to two colors, not three, and make sure they share the same undertone, so they look planned. Cool grays with warm creams can clash, for instance. Hardware can tie the look together: use the same pulls on both colors. Test small samples on a door and look at them in morning and evening light. A color that looks great at noon can turn muddy under your evening bulbs.
7. Swap a Few Doors for Glass Front Cabinet Doors
A few glass front cabinet doors break up a solid wall of wood and make the kitchen feel lighter. You don’t need many. Two or three doors near a window or above the sink are enough to create a focal point. Buy ready-made doors with glass panels, or ask a local glass shop to cut panes for doors with an open center. Ask about safety glass, especially in homes with children. Frosted, reeded, or seeded glass hides clutter while still giving a custom look. Inside, paint the back wall a contrasting color or add a small LED light, then arrange plain white plates and a few glasses. Resist the urge to display everything. Edited shelves look expensive, and crowded ones look messy.
The Bottom Line on Cheap Kitchen Cabinets
Making cheap kitchen cabinets look expensive is less about spending and more about choosing well. Start with paint, because it gives the largest change for the smallest price. Add better handles next, then trim, lighting, or a few glass doors as your budget allows. Keep your color choices simple, and keep your finishes consistent. Take your time with prep work and fitting, since small mistakes show up fast in a kitchen. You don’t have to finish everything in one weekend, either. Many people work through the list one project at a time and enjoy each step. Do that, and your old boxes will look like a custom kitchen, and nobody needs to know what you paid. For a related walkthrough, check out Home Office Makeover: 7 Easy Budget Ideas for Small Spaces.
Frequently Asked Questions
What is the cheapest way to make kitchen cabinets look better?
Paint and new handles give the most visible change for the lowest cost. Clean, sand, prime, and paint the doors in a rich color, then add pulls in one consistent finish. Together, these two steps can make a kitchen look completely different.
Can I paint cheap kitchen cabinets made of laminate or thermofoil?
Often yes, but the prep is stricter. You need a thorough cleaning, light sanding, and a bonding primer made for slick surfaces. If the surface is peeling or bubbling, painting won’t last, and new doors may be a better choice.
Is refacing better than painting?
It depends on the condition of your doors. Painting works well when the doors are flat and sound. Refacing makes sense when doors are damaged, warped, or in a style you dislike, and you want a new shape as well as a new color.
How much time does a cabinet makeover take?
Painting usually takes several days because of drying time between coats. Hardware and lighting can often be done in an afternoon. Trim and glass doors take longer, so plan them as separate weekend projects.
Do I need a professional for these upgrades?
Most of them are doable at home with basic tools and patience. Hire help for tasks involving hard-wired electrical work, complex trim cuts, or custom glass, and always follow safety rules when sanding older paint.

Ghani Mejber — Founder & Lead Editor
Ghani Mejber is the founder of DIY Homes Hub. After years of living in compact rentals with strict lease rules and limited storage, I started sharing practical, damage-free home upgrades and basic repair guides built for real budgets. Every project I publish focuses on simple tools, accessible materials, and reversible solutions that protect your security deposit.