Replace Cabinet Hardware in a Rental: 7 Easy Steps
Dated knobs can make a whole kitchen look tired. The good news is that you can replace cabinet hardware in a rental in one afternoon and still leave the space exactly as you found it. No new holes. No fights over your security deposit. Just a fresher look that costs far less than a renovation. The trick is to treat every change as temporary: you swap, you save, and you restore when the lease ends. Many renters skip this upgrade because they fear a landlord’s reaction or a lost deposit. Most of that worry fades once you have a clear plan, and you probably own most of the tools you need.
This guide walks you through seven steps, from the first email to your landlord to the final check on move-out day. Each step is simple on its own. Together, they protect your deposit and keep your cabinets in good shape. You will learn how to measure, what to buy, how to keep your old pieces safe, and how to handle tricky cases, such as new pulls that do not line up with the old holes. Read the steps in order the first time. After that, use them as a quick checklist whenever you want to refresh a rented space. If you want to dig deeper, our guide on Rental Kitchen Cabinets: 7 Easy Ways to Cover Without Paint covers this in more detail. This is a common part of dealing with replace cabinet hardware, and it is worth keeping in mind.
Why Renters Can Replace Cabinet Hardware With Little Risk
Cabinet hardware is one of the easiest upgrades to undo. Knobs and pulls sit on the surface and are held in place by screws, so removing them leaves no trace if the new pieces use the same holes. Compare that with paint or wallpaper, which can be hard and expensive to reverse. A lease is still a legal document, though, and rules differ from place to place. Some landlords care about every fixture, while others do not mind at all. The real danger here is small: losing the original pieces. That is why this plan puts storage and documentation at the center. If you can keep track of a few screws, you can safely replace cabinet hardware in almost any rental. Many people run into this exact issue with replace cabinet hardware at some point.
7 Steps to Replace Cabinet Hardware and Restore It Later
Step 1: Get Landlord Permission for Upgrades
Start by asking for landlord permission for upgrades, even if the change feels tiny. Many leases say nothing about cabinet knobs, but some ban any change to fixtures. A short email gives you a written record and protects your security deposit. Explain your plan clearly: you will swap the knobs and pulls, store the originals, and put them back before you move out. Add that you will not drill any new holes. Most landlords relax when they hear a change is fully reversible. Keep their reply with your lease papers. Tenant rules vary by country and state, so if you feel unsure, check local guidance. In the United States, HUD offers tenant rights information by state. Keeping replace cabinet hardware in mind here will save you time later on.
Step 2: Measure Cabinet Hole Spacing
Before you shop, measure cabinet hole spacing on every door and drawer. Knobs use a single hole, so they are easy. Pulls use two holes, and you need the distance between their centers, not the full length of the old handle. Place your tape measure on the middle of one screw hole and read the number at the middle of the other. Common pull sizes include 3 inches (76 mm) and 96 mm, but these are not the same, and a small gap will stop a pull from fitting. Cabinet styles also differ by maker and country, as this overview of cabinetry suggests, so never assume. Write each measurement down. Drawers and doors in the same kitchen can use different spacing, so check them all. This detail matters more than it seems once replace cabinet hardware comes up again.
Step 3: Choose Renter Friendly Cabinet Pulls
The best renter friendly cabinet pulls match your existing hole spacing exactly. That way, you reuse the holes you already have and avoid damage. Knobs are the safest choice because one hole is hard to get wrong. When you compare products, check the screw size and length too. Screws that are too long can poke into a drawer or scratch the inside of a door, while screws that are too short will not grip. Most new hardware comes with screws, but take one of your old screws to compare thread size. Look at the finish as well. Matte black, brushed brass, and simple chrome all hide fingerprints well, and they look good against many kitchen colors. This connects closely with another common issue — see 10 Renter-Friendly Upgrades That Won't Cost Your Deposit for more on that. It is one of those small things that makes replace cabinet hardware easier to manage overall.
Mismatched hole spacing adapters can help when you love a pull that is close, but not exact. Some products work as cover plates or adapter plates that bridge the old holes without new drilling. Check the product description carefully, and make sure it attaches using only your existing holes. Show your landlord the photo of the style first, since it will look different from a standard pull. If an adapter cannot solve the problem, choose another pull instead of drilling. A rental is not the place for permanent fixes. This is a common part of dealing with replace cabinet hardware, and it is worth keeping in mind.
Step 4: Gather Your Tools for Changing Cabinet Knobs
You need very little in the way of tools for changing cabinet knobs. Gather these before you begin, so you do not stop halfway through the job: Many people run into this exact issue with replace cabinet hardware at some point.
- A screwdriver that fits your screws, usually Phillips or flat-head
- A tape measure or small ruler
- Small zip bags and a marker for labeling
- Painter’s tape to mark positions
- Your phone to take “before” photos
- A soft cloth to wipe the surfaces
- A small hacksaw, only if new screws are too long and the product allows trimming
Skip the power drill if you can. A hand screwdriver gives you more control and lowers the risk of stripping a screw or cracking the door. If you must use a drill, set it to the lowest torque. Keeping replace cabinet hardware in mind here will save you time later on.
Step 5: Store Original Cabinet Hardware the Smart Way
Take photos of your cabinets before you touch anything. Then work one door or drawer at a time. Unscrew the old piece, and put the knob or pull and its screws into one zip bag. Label the bag with the location, such as “left upper door” or “top drawer.” This step matters more than it seems, because you want to store original cabinet hardware in a way that survives months or even years. Put all the bags into one box and write your address on it. Do not toss them into a kitchen junk drawer, where they can vanish. A shoebox kept with your lease papers is a good home for them. You might also find our article on Window Privacy Ideas: 7 Easy Renter-Friendly Options helpful here. This detail matters more than it seems once replace cabinet hardware comes up again.
Step 6: Install the New Hardware
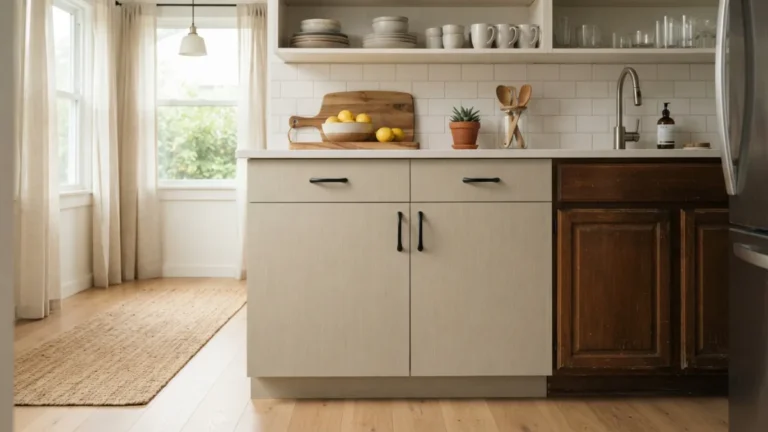
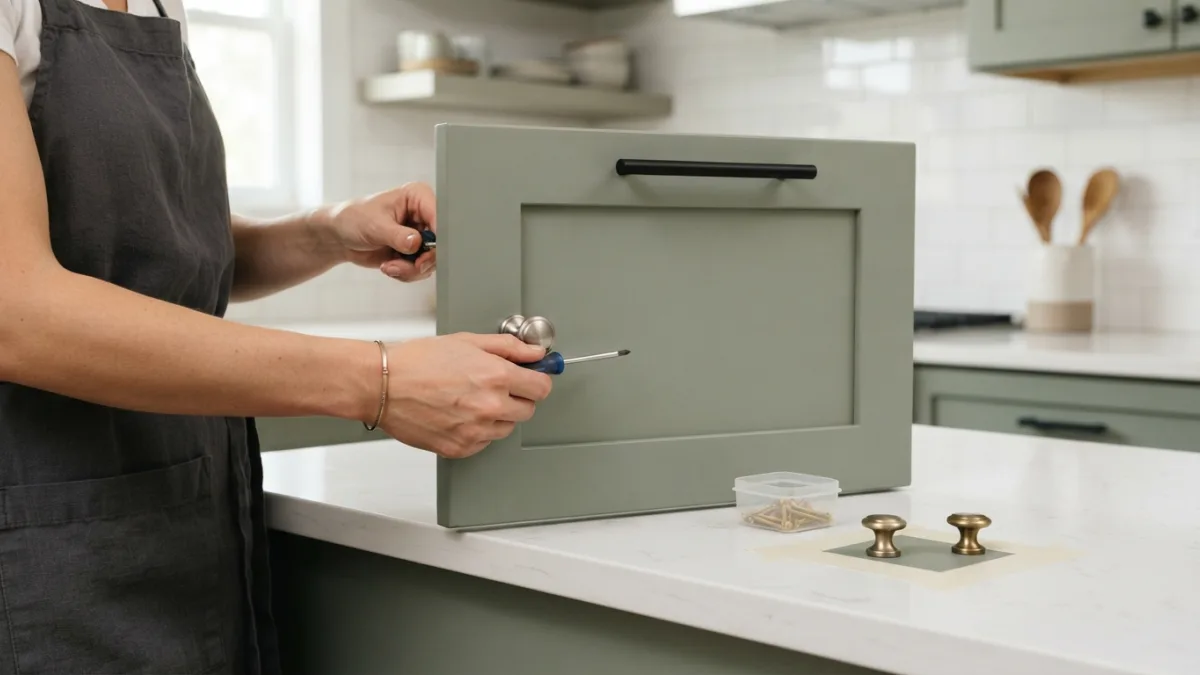
Now the fun part. Wipe each surface, then line up the new piece with the existing holes. For pulls, painter’s tape can help you keep every handle at the same angle. Insert the screw from the inside of the door or drawer, and turn it by hand until it feels snug. Stop there. Overtightening can strip the screw or crack the material, and softer cabinet materials can give way quickly. Close each door and open each drawer to check the fit. If a pull rubs against the frame, loosen it and adjust. It takes patience, but you can replace cabinet hardware on a full kitchen in a few hours, and the change in the room is usually dramatic. It is one of those small things that makes replace cabinet hardware easier to manage overall.
Step 7: Reinstall Original Cabinet Knobs and Fill Extra Screw Holes
Before move-out, reinstall original cabinet knobs and pulls. Open your box, check your photos, and match each labeled bag to its spot. Work in the same one-at-a-time way you used to remove them. Tighten gently, wipe each piece with a cloth, and check that every door closes properly. Then compare the final look with your “before” photos. If you used the same holes throughout, you are done, and nothing else is needed. This is a common part of dealing with replace cabinet hardware, and it is worth keeping in mind.
Sometimes a landlord approves a layout that needs new holes. In that case, you may need to fill extra screw holes when you leave. Ask the landlord what filler and paint they expect. A basic spackling paste is often used for small holes in wood or painted surfaces. Press it in, let it dry, sand lightly, and touch up with matching paint. Test on a hidden spot first. Many people run into this exact issue with replace cabinet hardware at some point.
Leave It Better Than You Found It
A small upgrade can change how a rental feels every single day. When you replace cabinet hardware with a plan, you get a space that looks more like your own and a landlord who has nothing to complain about. Ask first, measure carefully, pick pieces that fit, and keep the originals safe. Then put everything back before you hand over the keys. Take final photos once the old knobs are on, and save them with your emails and lease. That simple record can settle any argument about the condition of your cabinets. A little care at the start saves you a lot of stress at the end. For a related walkthrough, check out Renter Friendly Lighting Ideas: 7 Easy No-Wiring Tips. Keeping replace cabinet hardware in mind here will save you time later on.
FAQ: Replacing Cabinet Hardware in a Rental
Do I need permission to replace cabinet hardware in a rental?
Check your lease first. Some leases allow small changes, while others ban any alteration. Even if yours is silent, send a short email and keep the reply. A written approval protects your security deposit. This detail matters more than it seems once replace cabinet hardware comes up again.
What if my new pulls do not match the old hole spacing?
Look for pulls with the same center-to-center measurement, or use an adapter or cover plate that works with the existing holes. Avoid drilling new holes unless your landlord agrees in writing. It is one of those small things that makes replace cabinet hardware easier to manage overall.
How long does the job take?
A small kitchen often takes a few hours. Measuring and shopping take longer than the actual swap. A kitchen with many drawers will take more time, so work in small batches.
Where should I keep the original hardware?
Put each knob or pull and its screws in a labeled bag, then place all the bags in one box. Keep the box with your lease documents, not in a kitchen drawer where it can get lost.
Do I have to fill the holes when I move out?
Only if you added holes or your landlord asks for it. If you reused the original holes and reinstalled the old hardware, there is nothing to fill. Ask your landlord what repair they expect.

Ghani Mejber — Founder & Lead Editor
Ghani Mejber is the founder of DIY Homes Hub. After years of living in compact rentals with strict lease rules and limited storage, I started sharing practical, damage-free home upgrades and basic repair guides built for real budgets. Every project I publish focuses on simple tools, accessible materials, and reversible solutions that protect your security deposit.