Clean a Faucet Aerator With Vinegar: 5 Quick, Easy Steps
Your kitchen faucet used to fill a pot in seconds. Now the water sputters, sprays sideways, or trickles out like it’s tired. Before you call a plumber, take a few minutes to clean a faucet aerator, because that tiny mesh cap at the tip of the spout is the most likely culprit. The fix is cheap, needs no special skill, and mostly involves waiting while white vinegar does the hard work. This guide walks you through the job in five simple steps. It also explains why aerators clog in the first place and what to do when a part refuses to budge. Grab a towel and a bowl, and you can have the water flowing smoothly again this afternoon.
Why a Clogged Aerator Leads to a Low Water Pressure Faucet
An aerator is the small screened cap screwed onto the end of most faucets. Its job is to mix air into the water, so you get a soft, steady stream instead of a harsh jet. Inside, you usually find one or more mesh screens, a rubber washer, and sometimes a plastic flow restrictor. Those fine screens also catch grit, sediment, and tiny bits of mineral that travel through your pipes. Over time, the debris piles up and blocks the openings, which is how you end up with a low water pressure faucet even when the rest of your plumbing is fine. The U.S. EPA’s WaterSense program labels efficient bathroom faucets and accessories, including aerators. That is a good reminder that these small parts are built to control flow, so a clogged one has a big effect. If you want to dig deeper, our guide on Fix a Dripping Faucet: 7 Easy Steps for Beginners Today covers this in more detail.
What Causes Calcium Buildup on Faucet Spouts
If you spot a white, crusty film around the spout, you are looking at calcium buildup on faucet parts. It comes from hard water, which carries dissolved minerals such as calcium and magnesium. When water evaporates or sits in the aerator, the minerals stay behind and slowly harden into scale. You can read a clear overview of the topic in this explanation of hard water. The problem gets worse in homes with very hard water, but even moderate water leaves deposits over the years. The tight mesh of an aerator gives scale the perfect place to grow. That is where vinegar helps. It is a mild acid, so it breaks down mineral deposits without harsh scrubbing, and it is safe to keep in your kitchen cabinet.
Tools and Supplies You Need
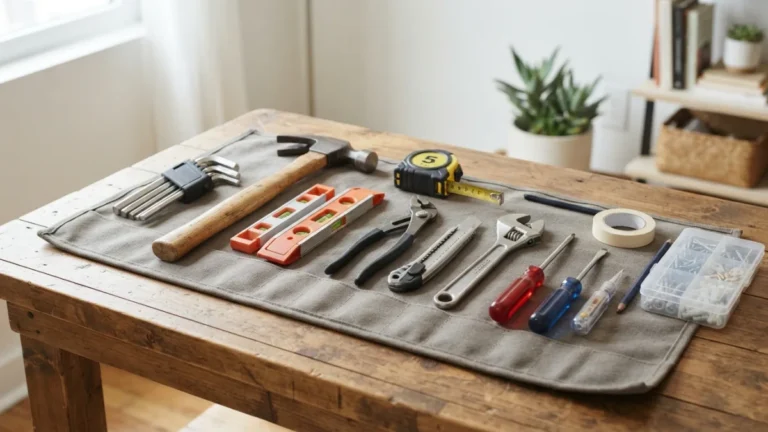
You can finish this job with items you probably already own. Many aerators unscrew by hand, so a faucet aerator removal tool is not always necessary. Some faucets, however, use a hidden “cache” style aerator that sits flush inside the spout. Those need a small plastic key, often included with the faucet or sold cheaply at hardware stores. Gather everything before you start so you are not hunting for a toothbrush with a dripping part in your hand.
- Distilled white vinegar
- A small bowl or cup
- A soft cloth or rag
- Adjustable pliers or a wrench (only if the aerator is tight)
- An aerator key, if your faucet has a hidden aerator
- An old toothbrush
- A straight pin or toothpick
- A towel or sink stopper to catch small parts
How to Clean a Faucet Aerator With Vinegar in 5 Steps
The whole process is simple, and most of the time goes to soaking. Work slowly, keep the parts in the order they come apart, and you will not need any special skills. Here is how to clean a faucet aerator from start to finish.
Step 1: Remove Faucet Aerator From the Spout
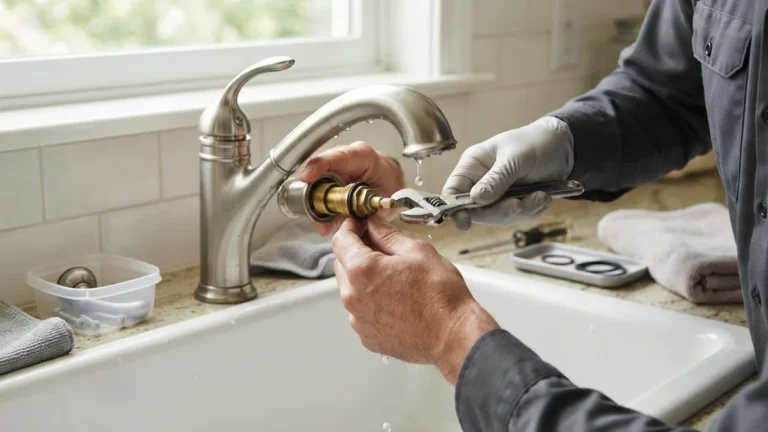
First, plug the sink drain or lay a towel in the basin so a dropped washer cannot disappear. Turn off the faucet. Now try to remove faucet aerator parts by hand, turning the cap counterclockwise as you look up at it from below. If it feels tight, wrap a cloth around the aerator to protect the finish and grip it gently with pliers. Turn slowly and keep the pressure even. Once it loosens, unscrew it the rest of the way and set it on the towel. Before you put anything back, run the water for a few seconds with the aerator off. This flushes out loose debris from the pipe and shows you whether the spout itself flows freely. This connects closely with another common issue — see Recaulk a Bathtub With Mold: 7 Easy Steps for Beginners for more on that.
Step 2: Take It Apart and Look Closely
Tap the aerator gently into your palm and the inner pieces should slide out. Notice the order: usually a washer, a screen or two, a flow restrictor, and the outer housing. Lay them out in a row on the towel, or snap a quick photo with your phone so you can copy the order later. Check each piece for white scale, black or brown flecks, and torn mesh. Rinse away any loose grit under running water. If you see lots of sand-like particles, your water supply may be carrying sediment, which is worth mentioning to your water utility. A cracked or bent screen should be replaced rather than cleaned, and a replacement aerator costs very little.
Step 3: Start the Faucet Aerator Vinegar Soak
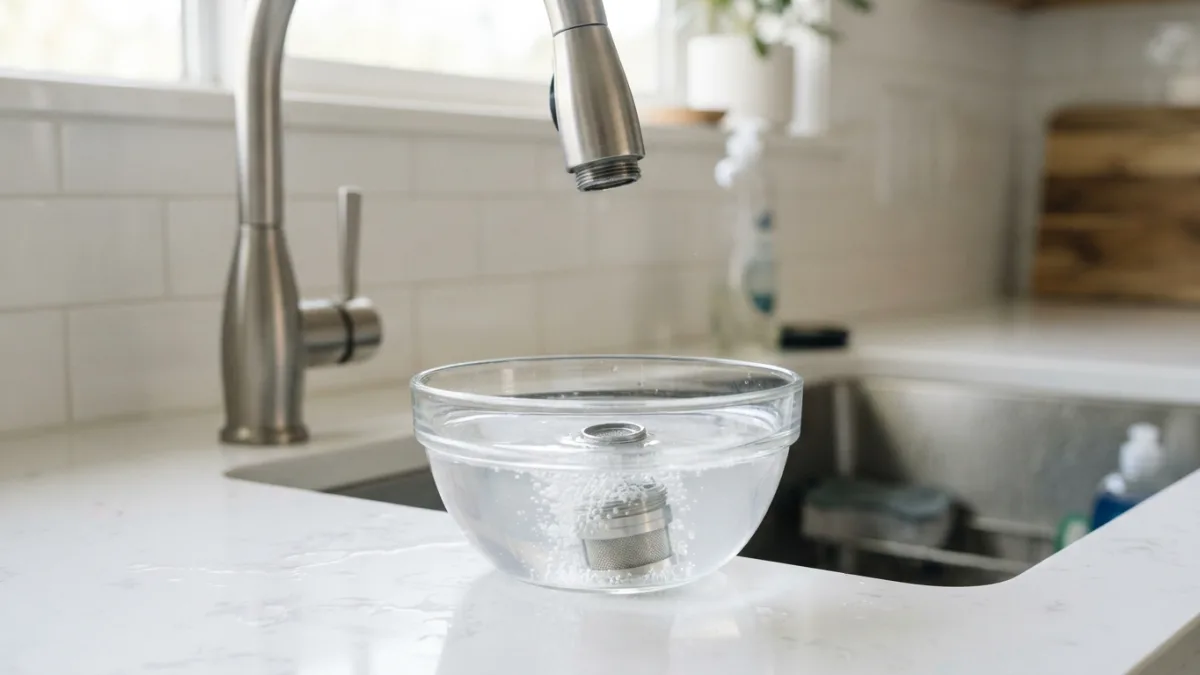
A faucet aerator vinegar soak is the heart of the job. Place all the parts in your bowl and pour in enough white vinegar to cover them completely. For light buildup, 30 minutes to an hour usually works. If the mesh looks crusty and white, let it sit for a couple of hours. You may see small bubbles forming, which means the acid is working on the minerals. Be careful with the faucet itself. Some finishes, such as brass, bronze, and certain coated surfaces, can dull if vinegar sits on them too long. Check the manufacturer’s care guidance if you are unsure, and never mix vinegar with bleach or other cleaners, because the combination can release harmful fumes.
Step 4: Scrub and Rinse Every Piece
When the timer ends, lift out the parts and scrub them lightly with the old toothbrush. Pay extra attention to the screens, working from both sides until the tiny holes look open. Use a straight pin or toothpick to poke out any stubborn bits, but go gently, since the mesh bends easily. If some scale remains, return the piece to the vinegar for another 20 to 30 minutes and try again. Rinse everything thoroughly under cool running water so no vinegar or loosened grit stays behind. Hold each screen up to the light. If you can see through the holes evenly, you have done a good job and the parts are ready to go back on.
Step 5: Reassemble Faucet Aerator Parts and Test the Flow
Now reassemble faucet aerator pieces in the same order they came out. The washer usually goes back in first or last depending on the model, so use your photo or the row on the towel as a guide. Slide the parts into the housing, then screw the aerator onto the spout by hand until it is snug. Do not overtighten it, because that can crack plastic threads or squash the washer. Turn the water on slowly and check for leaks around the edge. The stream should look smooth, even, and full. If you want to clean a faucet aerator in more than one sink, repeat the process one faucet at a time so the parts never get mixed up. You might also find our article on Remove a Stripped Screw: 8 Easy Methods That Really Work helpful here.
What to Do With a Stuck Faucet Aerator
A stuck faucet aerator is common, especially in homes with hard water, because scale can glue the threads together. Do not force it with a tool that could scratch or crush the spout. Instead, soak a cloth in vinegar, wrap it around the aerator, and secure it with a rubber band or a small plastic bag filled with vinegar. Leave it for an hour or two so the acid can soften the mineral bond. Then wrap a dry cloth around the aerator and try pliers again, turning slowly and with steady pressure. If it still will not move, try a different grip or a proper aerator key. When nothing works, a plumber can handle it in minutes without damaging your faucet.
How Often Clean Aerator Screens? A Simple Rule of Thumb
There is no official schedule, so how often clean aerator parts depends on your water. In homes with soft, clean water, a check once or twice a year is usually enough. In areas with hard water, you may want to look every few months. The best signal is the water itself. If the stream starts to spray unevenly, slow down, or sputter, it is time to clean a faucet aerator again. It also helps to check after plumbing repairs or a water main flush, since debris can shake loose and land in the screen. Adding the task to your seasonal cleaning list makes it easy to remember.
Keep the Water Flowing
Cleaning an aerator is one of the easiest home fixes you can do, and it often solves a problem people assume is much bigger. A bowl of vinegar, a toothbrush, and a little patience can bring back a strong, even stream and save you a service call. If the water still runs weak after the aerator is clean, the issue may lie elsewhere, such as a partly closed shutoff valve or a problem in your pipes. In that case, the EPA’s page on lead in drinking water is a helpful starting point if you have concerns about older plumbing. For most households, though, a quick soak is all it takes.
FAQ: Cleaning a Faucet Aerator With Vinegar
Can I clean a faucet aerator without taking it off?
Yes, but the result is less thorough. Fill a small plastic bag with vinegar, slip it over the spout so the aerator sits inside, and fasten it with a rubber band. Leave it for about an hour, then rinse. Removing the aerator lets you scrub the screens properly. For a related walkthrough, check out Find a Wall Stud: 7 Easy Tricks Without a Stud Finder.
How long should I soak an aerator in vinegar?
For light buildup, 30 minutes to an hour is usually enough. Heavy scale may need a couple of hours. Check the parts now and then, and avoid very long soaks on delicate or specially coated finishes.
Is vinegar safe for every faucet finish?
Not always. Vinegar is mild, but long contact can dull some finishes, including brass, bronze, and certain coatings. Soak only the removed aerator parts, wipe the spout quickly if vinegar touches it, and follow the faucet maker’s care advice.
What if the aerator is still clogged after soaking?
Scrub the screens again with a toothbrush and clear the holes with a pin. If the mesh is bent, torn, or still blocked, replace the aerator. A new one is inexpensive and takes only a minute to install.
Can I mix vinegar with bleach or other cleaners?
No. Mixing vinegar with bleach can create dangerous fumes. Use plain white vinegar by itself, rinse the parts with water, and keep other cleaning products separate.

Ghani Mejber — Founder & Lead Editor
Ghani Mejber is the founder of DIY Homes Hub. After years of living in compact rentals with strict lease rules and limited storage, I started sharing practical, damage-free home upgrades and basic repair guides built for real budgets. Every project I publish focuses on simple tools, accessible materials, and reversible solutions that protect your security deposit.